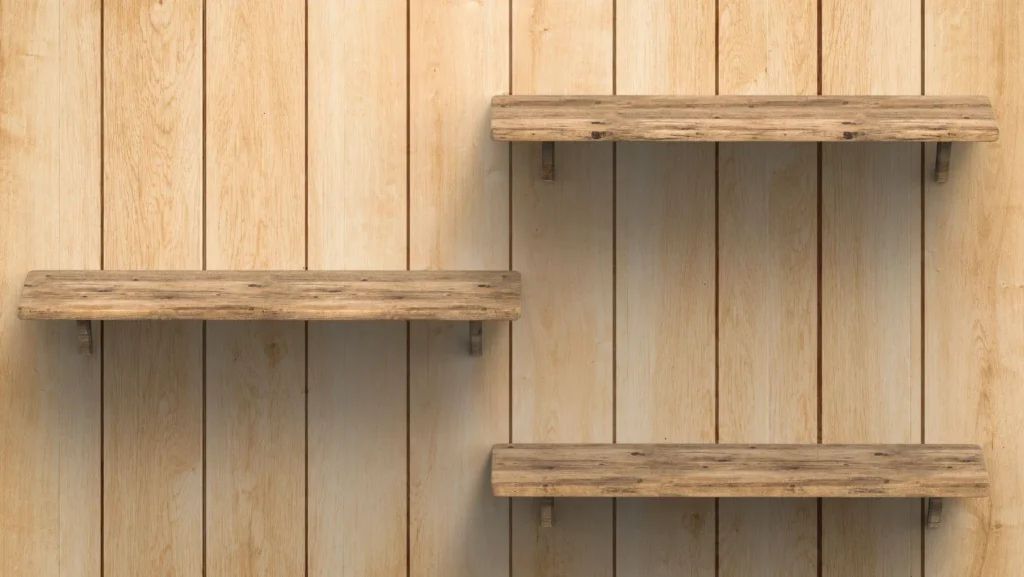
There’s a timeless beauty in aged wood floors — the kind that tells a story with every groove and grain. But even the most elegant hardwood floors can lose their luster over time due to scratches, stains, or wear.
The good news? You don’t need to replace your entire floor. With the right approach, your old wooden floor can be brought back to life — even better than before.
Whether you’re working with reclaimed oak, vintage pine, or exotic woods like teak or mahogany, restoring aged wood not only saves money but also helps preserve natural resources — making it an eco-friendly choice for conscious homeowners.
In this guide, we’ll walk you through 5 key steps to give your reclaimed wood flooring a second life — full of warmth, character, and long-lasting durability.
Step 1: Inspect and Assess Your Existing Wood Flooring
Before diving into the renovation process, it’s essential to start with a thorough inspection of your current wood flooring. This step helps you identify any underlying issues that could interfere with the restoration and ensures a smooth, successful outcome.

Why This Step Matters
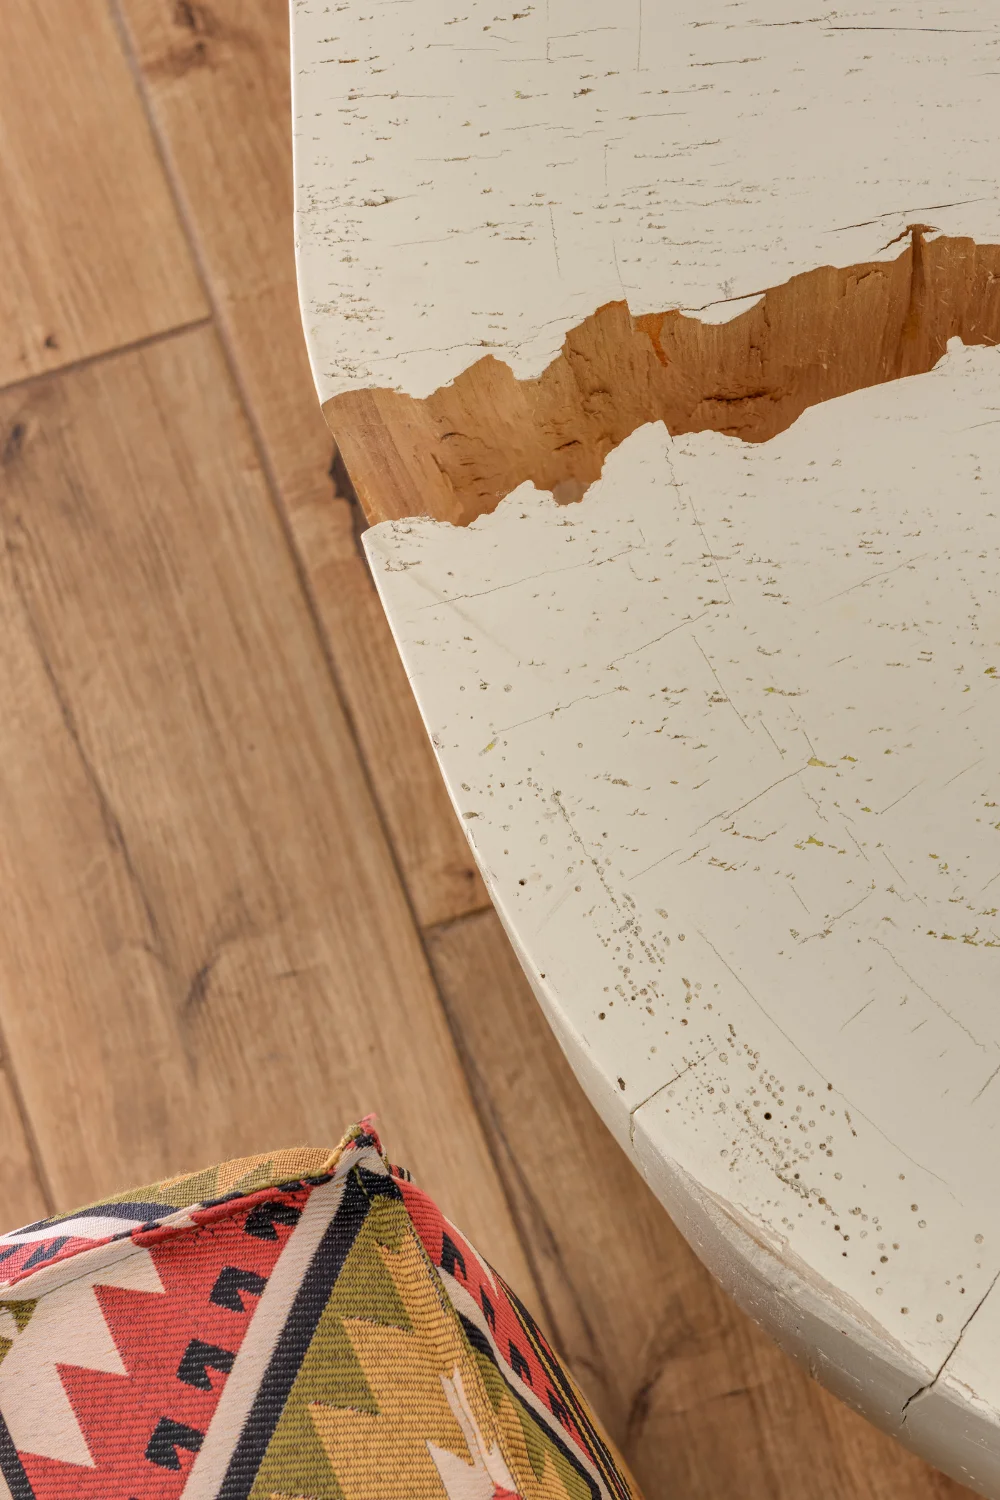
Over time, wooden floors—especially older or reclaimed ones—are vulnerable to various forms of damage, including:
-
Loose or squeaky boards due to shifting subfloors or changes in humidity
-
Cracks, chips, or splinters from wear and impact
-
Damage from pests such as termites, beetles, or woodworms
-
Moisture-related issues like warping or mold
Skipping this step can lead to costly mistakes later in the renovation.
What to Inspect
| Component | What to Check For | Recommended Action |
|---|---|---|
| Floorboard Stability | Creaking, movement underfoot | Re-nail or screw down loose boards |
| Surface Condition | Cracks, splinters, chipped edges | Replace damaged boards |
| Signs of Insects | Tiny holes, powdery dust (frass), soft wood | Treat or replace infested areas |
| Moisture Damage | Warping, discoloration, musty smell | Dry and replace affected boards |
| Subfloor Condition | Unevenness, sagging, or bounce | Inspect and reinforce as needed |
Scientific Insight: Wood and Insect Damage
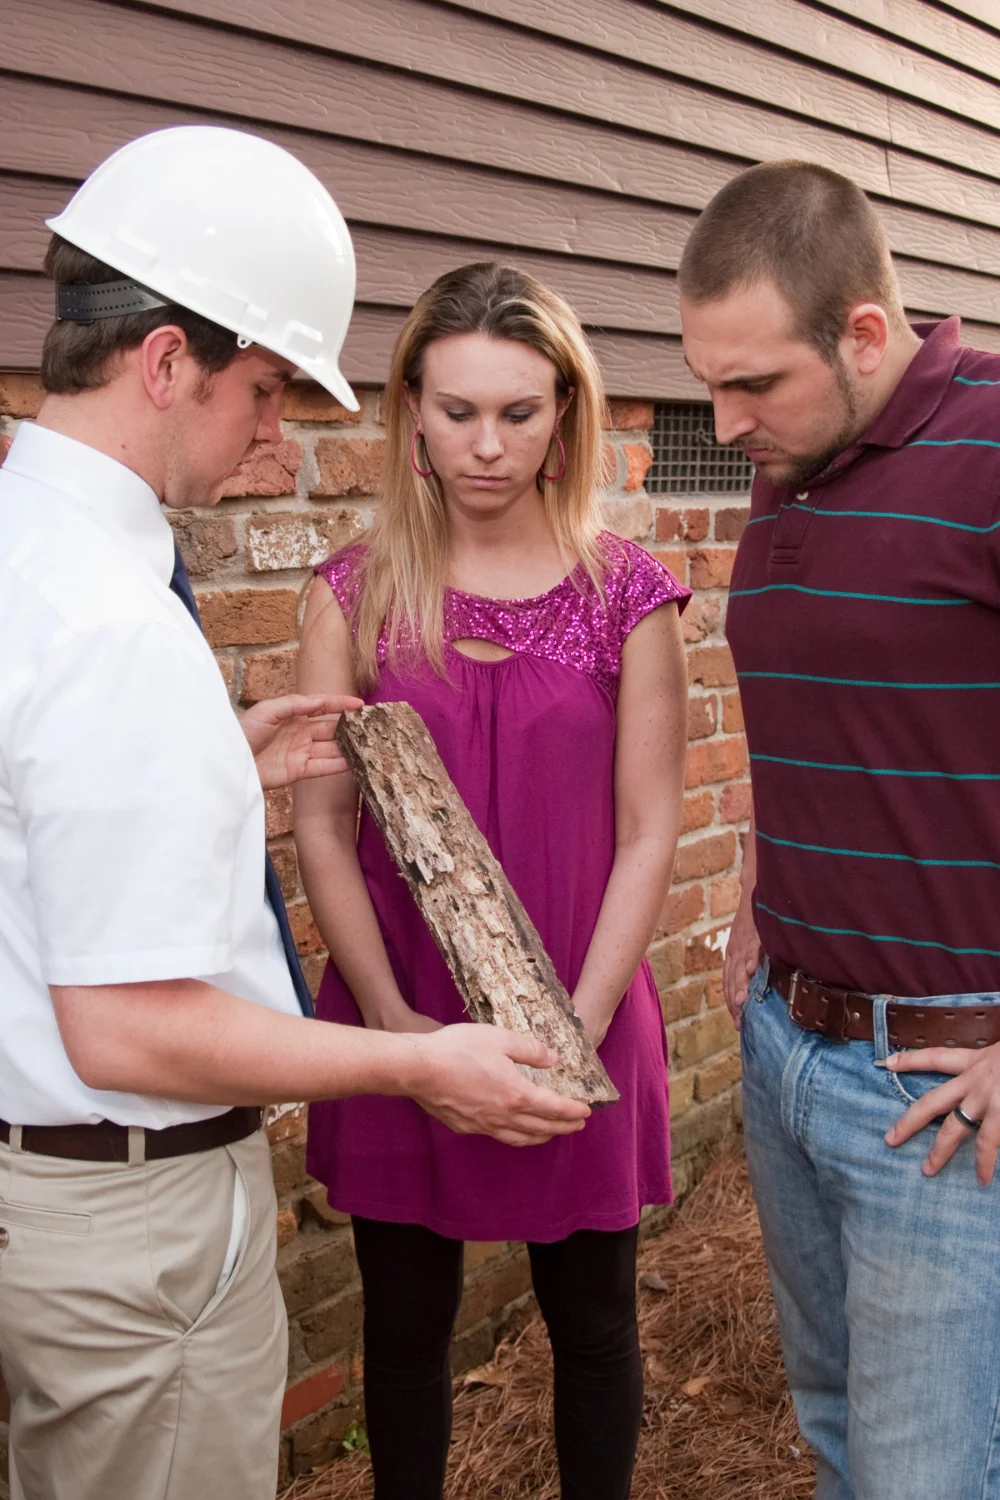
Research from the Journal of Wood Science shows that untreated wood exposed to termite or beetle activity can lose up to 40% of its structural strength in less than a year. Early detection and treatment are crucial, especially in humid environments where pests thrive.
Reference: Journal of Wood Science – SpringerLink
When to Inspect
Plan your inspection at least three to five days before the renovation begins. This allows time to:
-
Address structural or pest issues
-
Replace or secure problematic boards
-
Ensure the surface is ready for sanding, staining, or sealing
A well-prepared foundation is key to a long-lasting and beautiful finish.
Step 2: Preparing the Room
Before any sanding, staining, or sealing begins, proper preparation of the room is critical. Skipping this step often leads to dust contamination, uneven finishes, and costly redos. Here’s how to set up your space for an efficient and clean restoration process.
Why Room Prep Is Crucial for Floor Renovation
Sanding reclaimed or aged wood produces fine wood particles that spread easily — even with industrial-grade vacuums. Proper prep keeps dust under control and protects your furniture, electronics, and air quality.
Room Preparation Checklist
| Task | Why It Matters | What to Do |
|---|---|---|
| Remove furniture and rugs | Allows full access to floor and prevents damage | Clear out all portable items |
| Cover immovable items | Protects from fine dust particles | Use plastic sheeting and painter’s tape |
| Seal doors and vents | Prevents dust from spreading to other rooms | Apply masking tape and plastic film |
| Check for protruding nails | Avoids damage to sanding tools and ensures flat surface | Hammer down or remove nails |
| Fill holes and cracks | Creates a smooth base for sanding and refinishing | Use high-quality wood filler |
| Replace severely worn boards | Ensures durability and aesthetic consistency | Match wood type and grain direction |
Choosing the Right Wood Filler
For deeper cracks or larger gaps, standard wood filler might not suffice. In those cases, opt for two-part epoxy wood fillers which offer stronger adhesion and better structural integrity.
Pro tip: Match the color of the filler to the final stain or finish you’ll apply. Some fillers may darken or lighten after staining.
This prep step isn’t just about cleanliness — it’s about creating the ideal foundation for a durable, professional-grade floor restoration.
Step 3: Sanding Your Wooden Floor
Sanding is arguably the most critical stage in restoring your reclaimed or aged wooden floor. Done properly, it removes years of wear, scratches, and the old finish — leaving behind a smooth surface ready for a brand-new look. Done poorly, it can ruin your floor.
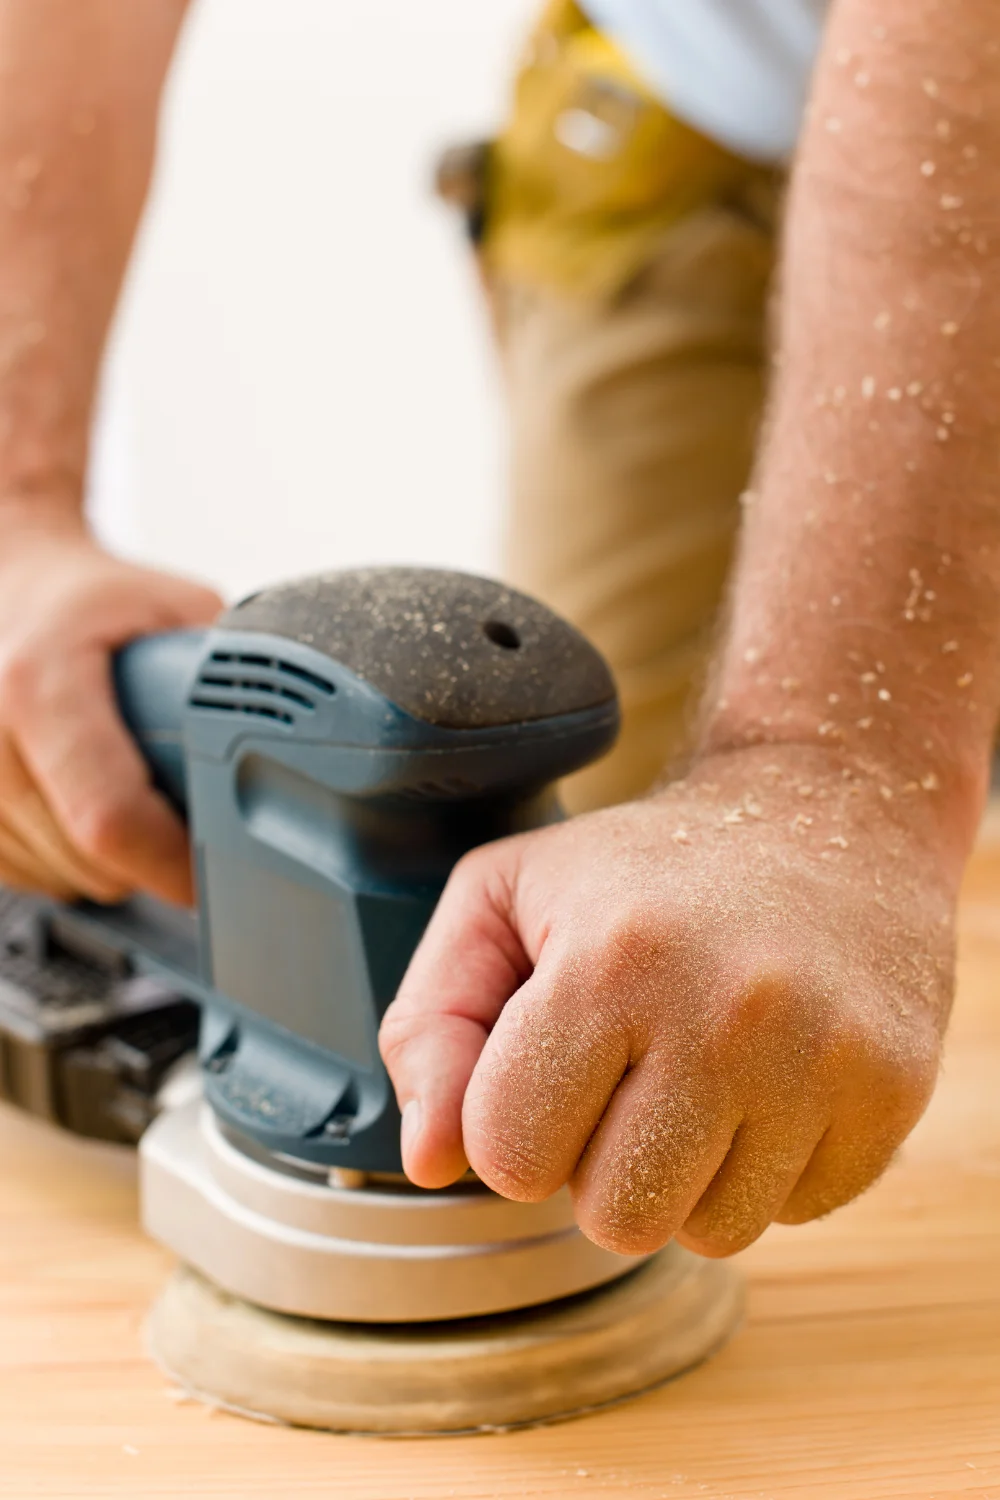
This guide will walk you through how to sand safely, effectively, and with professional-level results.
Why Sanding Matters in Wood Floor Renovation
Sanding serves multiple purposes:
-
Removes existing finishes (stains, varnish, oils)
-
Eliminates surface imperfections like scratches and dents
-
Prepares the surface for staining, sealing, or oiling
Neglecting this step or rushing it can result in uneven coloring, visible scratches, or even permanent damage to the wood fibers.
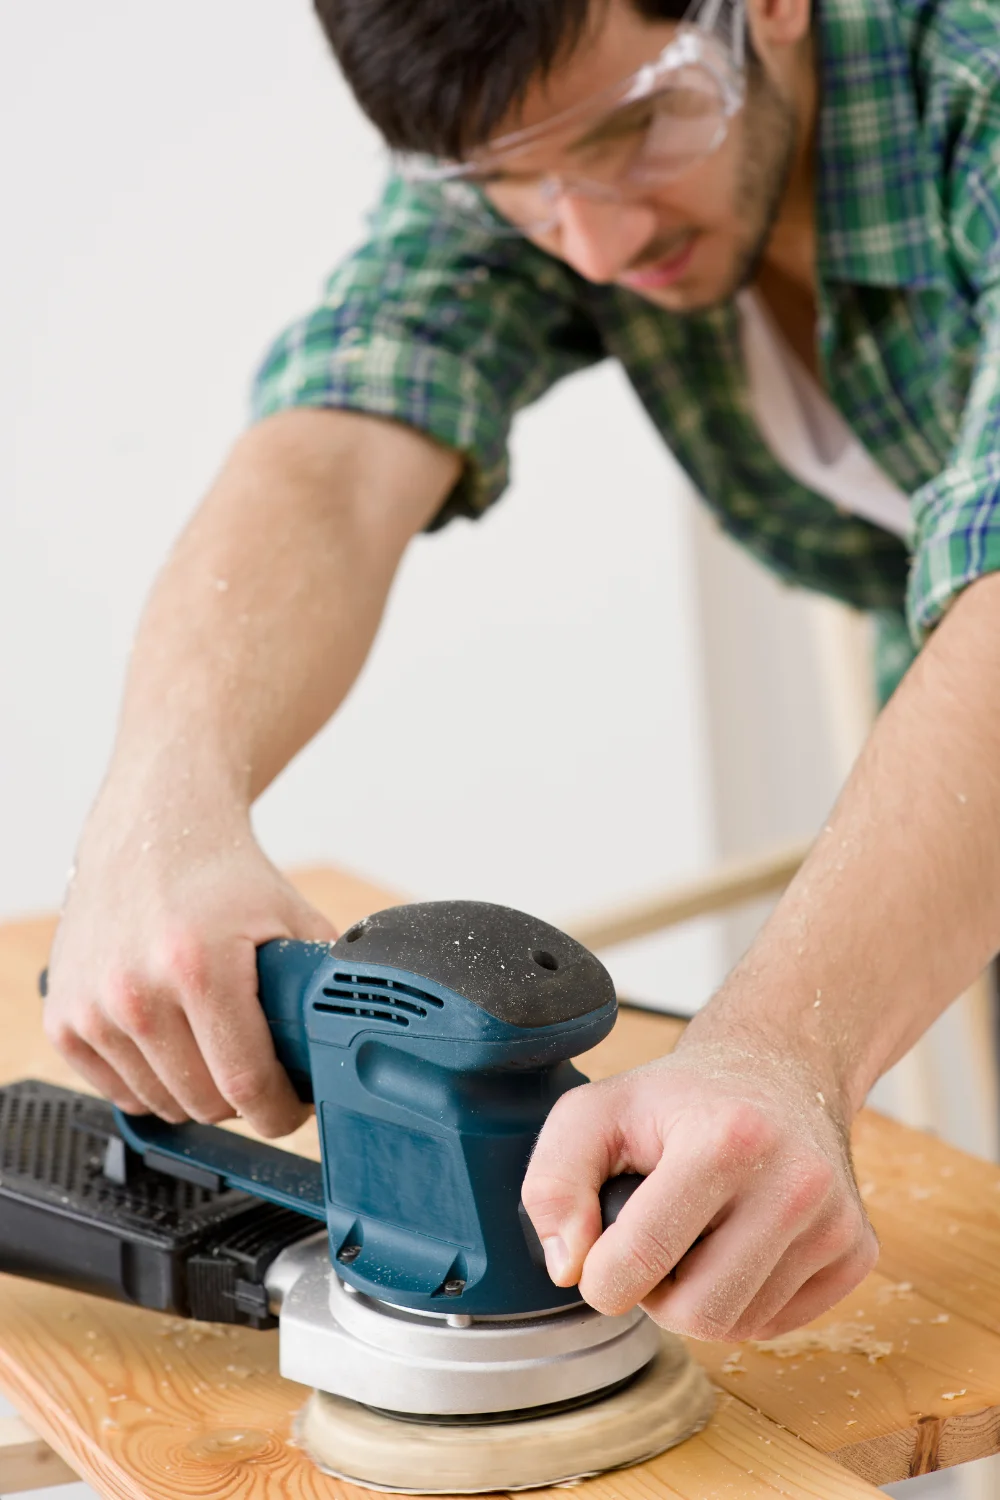
Recommended Equipment
| Tool | Purpose | Notes |
|---|---|---|
| Belt Sander (Drum Sander) | Covers large, open floor areas | Powerful; requires control |
| Edge Sander (Orbital or Disc) | Sands corners and edges | Ideal for perimeter and tight spots |
| Shop Vacuum or Dust Extractor | Removes sanding dust | Essential after each grit change |
| Safety Gear | Eye, ear, and respiratory protection | Dust masks are crucial |
Both sanders are available for rent at most tool hire companies. Ask for models with integrated dust collection if available.
The Three-Stage Sanding Process
Always sand with the grain, not against it. Working against the grain can cause splintering or irreversible swirl marks.
| Stage | Grit Size | Purpose |
|---|---|---|
| Coarse Sanding | 36–40 grit | Strips off old finish, stains, and debris |
| Medium Sanding | 60–80 grit | Smooths out scratches from coarse sanding |
| Fine Sanding | 100–120 grit | Prepares the floor for finishing |
Pro Tip: For very old or uneven reclaimed wood, start with a test section using coarse grit to determine how aggressively you need to sand.
After Each Sanding Step
-
Vacuum thoroughly to remove all dust and debris.
-
Use a damp microfiber cloth to pick up fine particles — but avoid over-wetting the wood.
-
Allow the floor to dry fully before applying any finish.
Avoid These Common Sanding Mistakes
-
Skipping grits (e.g., going straight from coarse to fine)
-
Sanding across or against the grain
-
Using worn-out sanding belts or discs
-
Not cleaning between passes
Poor sanding leads to blotchy finishes, visible swirl marks, and uneven stain absorption.
Filling Cracks and Gaps
After the sanding process, you may notice visible cracks, holes, or gaps between your reclaimed wood boards. These imperfections, if left untreated, can detract from the overall aesthetic of the floor, leaving the surface uneven and unattractive.
This step ensures that the floor looks smooth and cohesive, ready for its final finish.
Why Fill Cracks and Gaps?
-
Improves the floor’s appearance by hiding imperfections
-
Prevents dirt and debris from accumulating in cracks and gaps
-
Creates a more uniform surface for a flawless final finish
-
Seals out moisture that can further damage the wood
The Best Materials for Filling Wood Cracks and Gaps
For filling cracks and holes, it’s important to choose a filler that matches the wood’s characteristics — particularly its color, texture, and flexibility.
| Filler Type | Best For | Notes |
|---|---|---|
| Wood Filler (Paste) | Small cracks and holes | Available in various colors |
| Epoxy Resin | Larger gaps or severe damage | Highly durable and stain-resistant |
| Oil or Wax-Based Filler | Hairline cracks and fine gaps | Provides a natural finish and sheen |
Pro Tip: Use sanding dust mixed with a resin or oil-based product for an eco-friendly, seamless filler. This allows the filler to blend in more naturally with the wood, creating an almost invisible repair.
How to Fill Cracks and Holes
-
Mix the filler: Combine sanding dust from your previous work with a high-quality wood filler (or resin/oil mixture).
-
Apply the paste: Use a putty knife to fill cracks, gaps, and holes. Apply the paste generously, ensuring all spaces are filled completely.
-
Let it dry: Allow the filler to dry fully, according to the manufacturer’s instructions.
-
Lightly sand: Once the filler has dried, lightly sand the treated areas with a fine-grit sandpaper to ensure a smooth surface.
Step 5: Choosing the Right Finish — Oil, Varnish, or Wax
The finish you apply to your wood floor can significantly influence its durability, appearance, and ease of maintenance. Choosing the right finish is essential to not only achieving the desired aesthetic but also to ensuring the floor performs well over time, especially in high-traffic or high-moisture areas.
Why Floor Finish Matters
-
Protects against wear and tear: A good finish creates a barrier between the wood and foot traffic, spills, and other environmental factors.
-
Enhances wood grain: Different finishes can highlight the natural beauty of the wood, giving it a rich, polished look.
-
Ease of maintenance: Some finishes are easier to maintain and touch up than others.
Here’s a breakdown of the three most common finishes for reclaimed or antique wood floors:
1. Oil Finish: Traditional and Easy to Maintain
Best for: Living rooms, bedrooms, and areas with moderate foot traffic.
Advantages:
-
Easy to apply and maintain
-
Penetrates the wood for a more natural look
-
Enhances the wood’s natural grain and color
Application:
-
Apply two coats of oil, spaced 36 hours apart for optimal absorption and drying.
-
Regular reapplication may be necessary depending on the floor’s wear and exposure.
Limitations:
-
Once applied, you cannot change the finish without stripping it.
-
May require more frequent maintenance compared to varnish.
Pro Tip: Tung oil or linseed oil are great options for a natural, eco-friendly finish that highlights the wood’s grain.
2. Varnish Finish: Durable for High-Traffic or Moisture-Prone Areas
Best for: Kitchens, bathrooms, hallways, and other high-traffic or high-humidity areas.
Advantages:
-
Provides a hard, durable surface that resists water, stains, and dirt.
-
Great for high-traffic areas due to its resilience.
-
Less frequent maintenance compared to oil or wax finishes.
Application:
-
Typically requires three to four coats for optimal protection.
-
Apply in thin layers, allowing sufficient drying time between coats.
-
It’s recommended to consult a professional for application, as varnish highlights imperfections in the wood.
Limitations:
-
Varnish may emphasize sanding marks or uneven areas, which is why professional application is ideal.
-
More permanent than oil finishes — you can’t change it once applied.
Pro Tip: Choose a matte or satin varnish for a more natural finish that isn’t overly glossy.
3. Wax Finish: Nourishing and Aesthetic
Best for: Living rooms, bedrooms, and areas with light to moderate foot traffic.
Advantages:
-
Nourishes the wood and gives it a soft, natural sheen.
-
Adds depth and richness to the wood’s appearance.
-
Ideal for areas where stains and water resistance aren’t a primary concern.
Application:
-
Apply two coats, with at least 8 hours between each layer.
-
Always ensure the floor is dust-free before application.
-
Regular maintenance: Reapply wax monthly or even weekly, depending on foot traffic.
Limitations:
-
Less resistant to moisture and stains than oil or varnish.
-
Requires regular upkeep to maintain its protective qualities.
Pro Tip: Beeswax-based floor wax is a popular choice for its natural properties and ability to enhance the wood’s grain.
How to Maintain Each Finish
| Finish Type | Maintenance Frequency | Recommended Care |
|---|---|---|
| Oil | Every 6 months to 1 year | Light cleaning with a soft cloth and oil touch-ups |
| Varnish | Every 1 to 2 years | Clean with a damp cloth, avoid harsh chemicals |
| Wax | Monthly or weekly | Regularly dust and reapply wax as needed |
Scientific Insight: The Benefits of Floor Finishes
According to The Journal of Wood Coatings and Finishes, oil finishes penetrate the wood and provide a more natural look, while varnishes create a stronger surface layer that’s more resistant to damage from wear and water. Wax finishes, while aesthetically pleasing, offer the least protection but are favored for their ease of application and the soft glow they give to wood.
Source: Journal of Wood Coatings and Finishes